


I know its been a while since I have posted been busy with school starting back up, hanging with my new roommate and everything else that comes along. However I wanted to share with you a simple and CHEAP curtain idea. I had been wanting curtains for my living room but just didn't the money to spend on curtains because of the length I needed, as stated in the previous post. So I started to look on pinterest and saw people using drop cloths as curtains! I knew it would just look perfect! I do not like the look of curtains put up with either those rings with clips or a pocket for the rod to go through, I am obsessed with grommet curtains! I love the look they of them and how much more expensive they look as well. I had recently finished the curtains my mother had started for me, to put up in my room, that has grommet for hanging. She found a grommet kit that makes it so easy anyone can do it! So I knew that was what I was going to do.
Here it what you will need to make your curtains:
 |
| Ignore the rotary cutter I didn't end up needing it |
- Two drop clothes ( Mine were around 10 dollars each and were 6ft X 9ft, you can find them at hardware stores like Lowes, which is where I got mine.)
- Two curtain Grommet kits ( You can pick these up at Hobby Lobby for around $13 dollars each if I remember correctly, I used a 40% off coupon on both)
- A sewing machine or If you want it to be a no sew project using Heat and Bond hemming tape
- Matching thread for machine
- Ruler
The best part of these simple curtains is that if your like me I used the entire drop cloth as is and the edges are already sewn for you so all you have to do is sew the top for the grommets to go!
How to make the curtains:
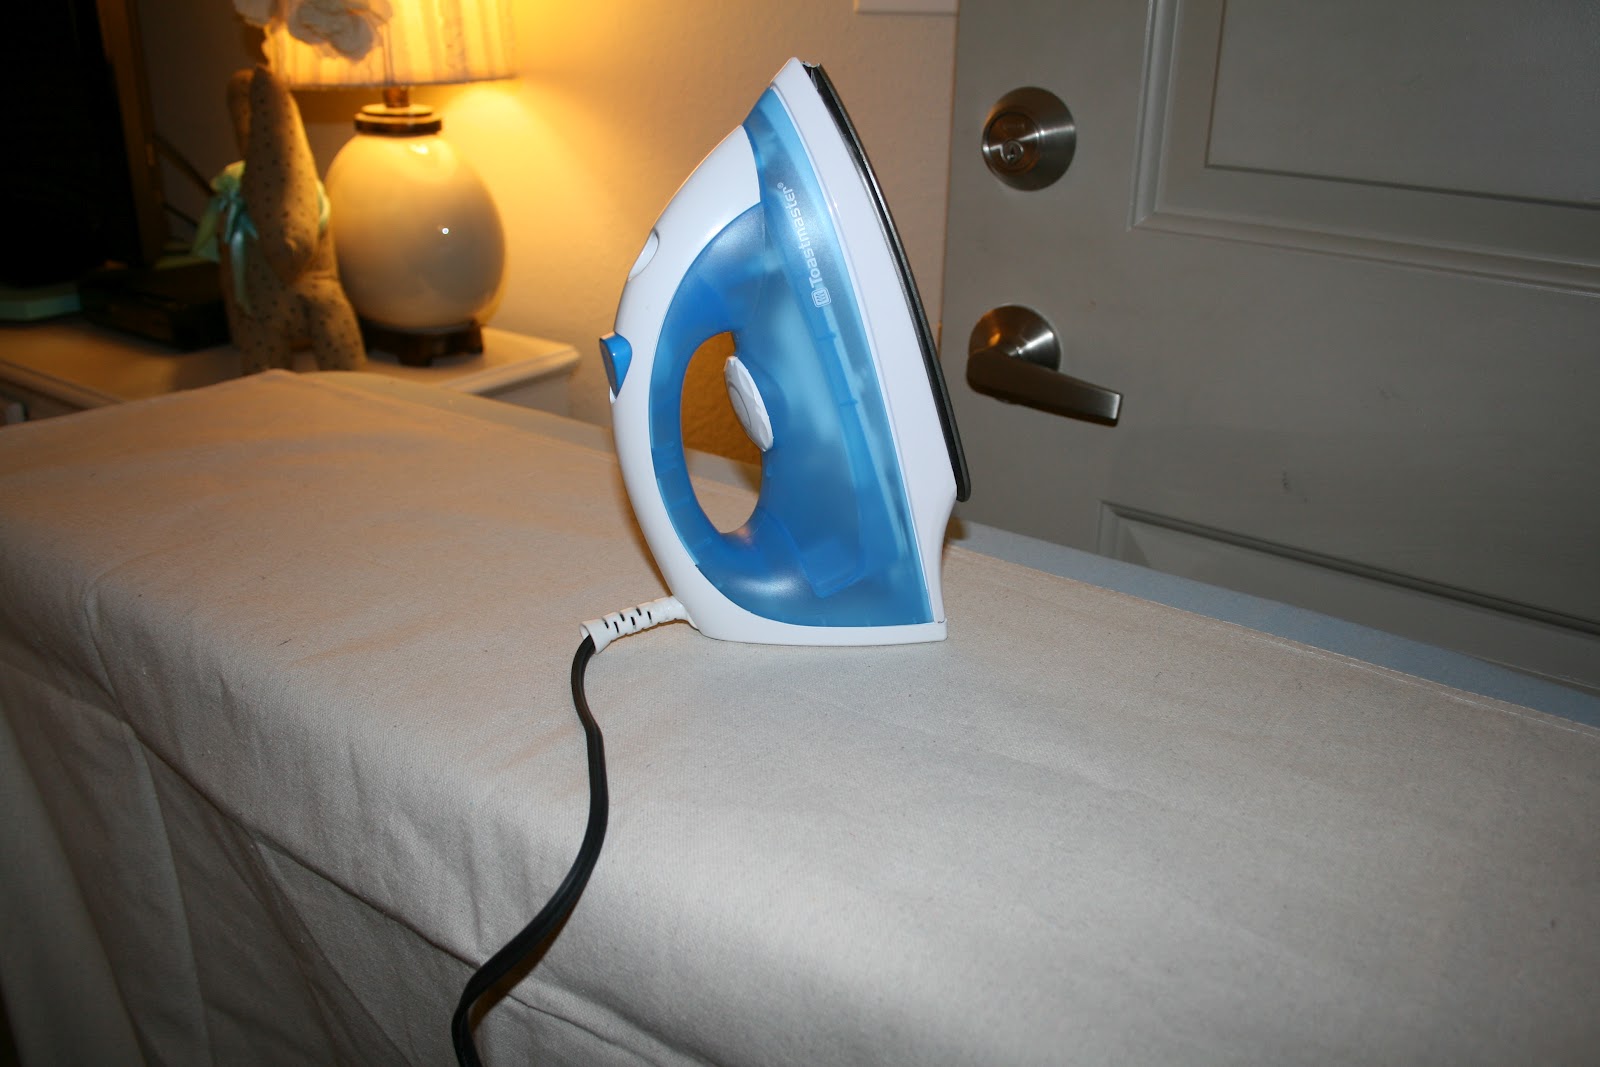
1. Iron the entire drop cloth. This will take some time so put a movie in or watch TV while you do it. I ironed mine while watching Burlesque ( Which if you haven't seen it you must! My roommate and I absolutely love it and sing songs from it all the time.)

Like I said make sure its the same width all the way down the curtain.
3. Sew along the bottom of the pocket. This is where you can use the heat and bond hemming tape if you prefer not to sew.


4. Now that you have your pocket sewn you can lay out your grommets and figure out the spacing you want to you. If you anything like me you will not figure this out mathematically you will do trial and error till you get something you like.
- Hint: You will want to use a EVEN number of grommets. Once again learned this one the hard way as well! If you don't use a even number of grommets then it does not begin and end correctly and it lays all funny.
- Hint 2: You want your first grommet and last grommet about 1 inch from the edge of either side of the curtain for it to look right.

 | ||
| I used my yard stick to help me space them properly. |
5. Trace the inside of each grommet or use the fancy little template they put in the packet. I have done it both ways and the second time I just traced the inside of the grommet.
 |
| Opps! See where I did this the first time. Had to re-space them luckily it was on the back so no one well ever know...well except y'all. |

7. To attach the grommets you take the male side and place it on the back (which will be the front when your done) and then take the female side and place it on the front side and push HARD till you hear/feel them snap together. If your having trouble getting them to snap or are seeing fabric when you snap them together, you might need to cut the hole a little larger. The best part about these grommets is that they un-snap pretty easily if you need to readjust for some reason.

8. Now your ready to put your curtains up and enjoy them with the satisfaction that they cost way less than if you had bought them in the stores!
 | ||
The lighting and the design of the room doesn't let me take a great shot of the curtains but here is one to show you how they look. If you notice from the first shot to this one the room is a little different, i.e. I become bored with the arrangement of the room and moved somethings :) |
Documenting and making this guide every step of the way are a huge help for those aspiring to put up a nice curtain even on a tight budget. If you don't mind me asking, how long did it take to finish everything? Your new curtains look great! Certainly complements the overall look of the room.
ReplyDeleteRoxie Tenner @ Window Treatments Philadelphia
It took me one night to do both I believe. It has been two years since I made these so I might be incorrect but I would say around 3 hours because of the ironing, that takes the most time in my opinion.
ReplyDeleteCan I ask why you made the top hem to put the grommet on, instead of putting the grommet directly onto the fabric/ no pocket? Was it because it was weightier with the top hem made?
ReplyDeleteLove this look. :)
I liked the look mainly. I also feel like it made them stronger if you get what I mean to hold all that weight because they are HEAVY! I love them too they are currently in storage can't wait to pull them out and put them back up soon!
ReplyDeleteThat looks fantastic!
ReplyDeleteThat looks fantastic!
ReplyDeleteThank you!
Deletewhat is the little yellow tool for? where did you get it?
ReplyDeleteThe yellow tool is a rotary cutting tool used for cutting material, as in quilting strips. I noticed she had that tool in her items but, it didn't appear she used it. You can just use scissors
DeleteGrommet curtains
ReplyDeleteBuy Custom Made Curtains and Drapes for Bedroom Window Online at Spiffy Spools. For Further Details, Visit the Site
to get more - https://www.spiffyspools.com/collections/curtains
This comment has been removed by the author.
ReplyDeletePinch pleat curtains
ReplyDeletehttps://www.spiffyspools.com/pages/curtain-headings-style-guide
Buy custom pinch pleat curtains and grommet curtains at Spiffy Spools. Read our drapery headings styles guide to choose the right look for your decor.